First 30 Days LED Light Therapy Expectations
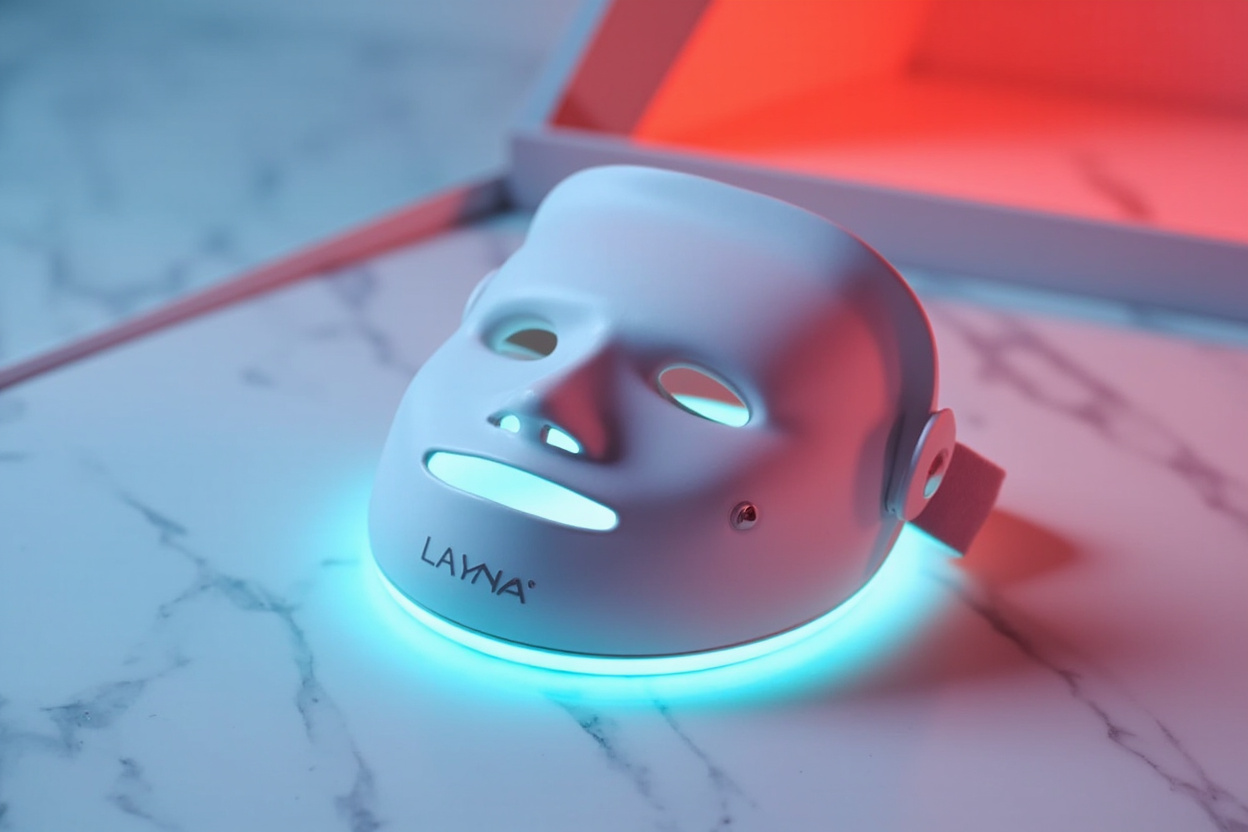
Starting your LAYNA journey? Here's a realistic week-by-week timeline of what to expect from LED light therapy in your first 30 days — and how to get the most from every session.
LED light therapy is one of the few skincare investments that delivers real, measurable results — but it's not an overnight transformation. Understanding what to expect in your first 30 days will help you stay consistent and recognize the early signs that it's working. Here's your week-by-week guide.
Week 1: Building the Habit
The first week is about establishing your routine. Most users report that their skin simply feels good after each session — a slight glow, a sense of calm from the gentle warmth of the LEDs. Some people with active acne may notice an initial purge as blue light brings subsurface bacteria to the surface. This is temporary. If you're experiencing significantly increased breakouts, reduce blue light sessions to every other day and keep using red light.
At this stage, no dramatic visible changes are expected — and that's fine. You're building the foundation for results that come with cumulative treatment.
Week 2: Early Cellular Activity
By the end of week two, some users begin noticing improvements in skin brightness and a more even tone. This is the earliest visible sign of photobiomodulation at work — increased cellular energy production is improving skin cell turnover. If you're using the red light setting, you might notice your skin looks less dull in morning light.
Consistency matters enormously in week two. If you miss sessions, you're resetting your accumulation of treatment benefit. Set a daily reminder if needed — the 10-minute commitment is genuinely small, but it needs to be regular.
Week 3: Inflammation Calming
Week three is often when noticeable anti-inflammatory effects become apparent. If you have any residual redness, post-acne marks, or general skin sensitivity, the red light's anti-inflammatory action (via reduced pro-inflammatory cytokine signaling) often becomes visible here. Skin tone starts looking more uniform, and any lingering redness from breakouts fades more quickly.
For anti-aging users, the earliest signs of improved skin texture may appear around this time — skin that felt rough or uneven may start to smooth out as dead cells shed more efficiently and the dermis begins its slower process of collagen remodeling.
Week 4: Real Results Begin
At the 4-week mark, clinical studies begin showing statistically significant improvements in key metrics. Your skin should be noticeably brighter and calmer. Fine lines may appear slightly softer, particularly around the eyes and forehead. If you're using blue light for acne, active breakouts should be reduced in both frequency and severity compared to before you started.
Many users do their first real before-and-after comparison around this point and are genuinely surprised by the improvement. The key is comparing under the same lighting conditions — bathroom lighting can vary dramatically, and LED photos can be misleading.
Getting the Most from Your First 30 Days
Be consistent: Daily use dramatically outperforms occasional use. If you're only using it twice a week, you won't see what daily users see in four weeks.
Clean your mask: LED effectiveness decreases when light is blocked by oil, skincare product residue, or dust on the mask surface. Wipe it down with a damp cloth after each use.
Don't overuse blue light: If you have sensitive skin or experience redness, reduce blue light sessions. Blue light can be stimulating for some skin types.
Moisturize after sessions: Red light increases skin permeability for about 20-30 minutes post-session. This is the ideal time to apply your moisturizer or serum.
Protect your results: Daily sunscreen prevents new damage that would counteract your LED progress. It's the foundation of any anti-aging routine.
Tags
Share this article